There is nothing worse than going to the effort of curling your hair for a night out, only to have the curls drop within half an hour of leaving the house. Whether your hair is straight and fine, or heavy and frizzy, these 7 tips will help your curls last until the sun comes up.

1. Start with a good curling tool
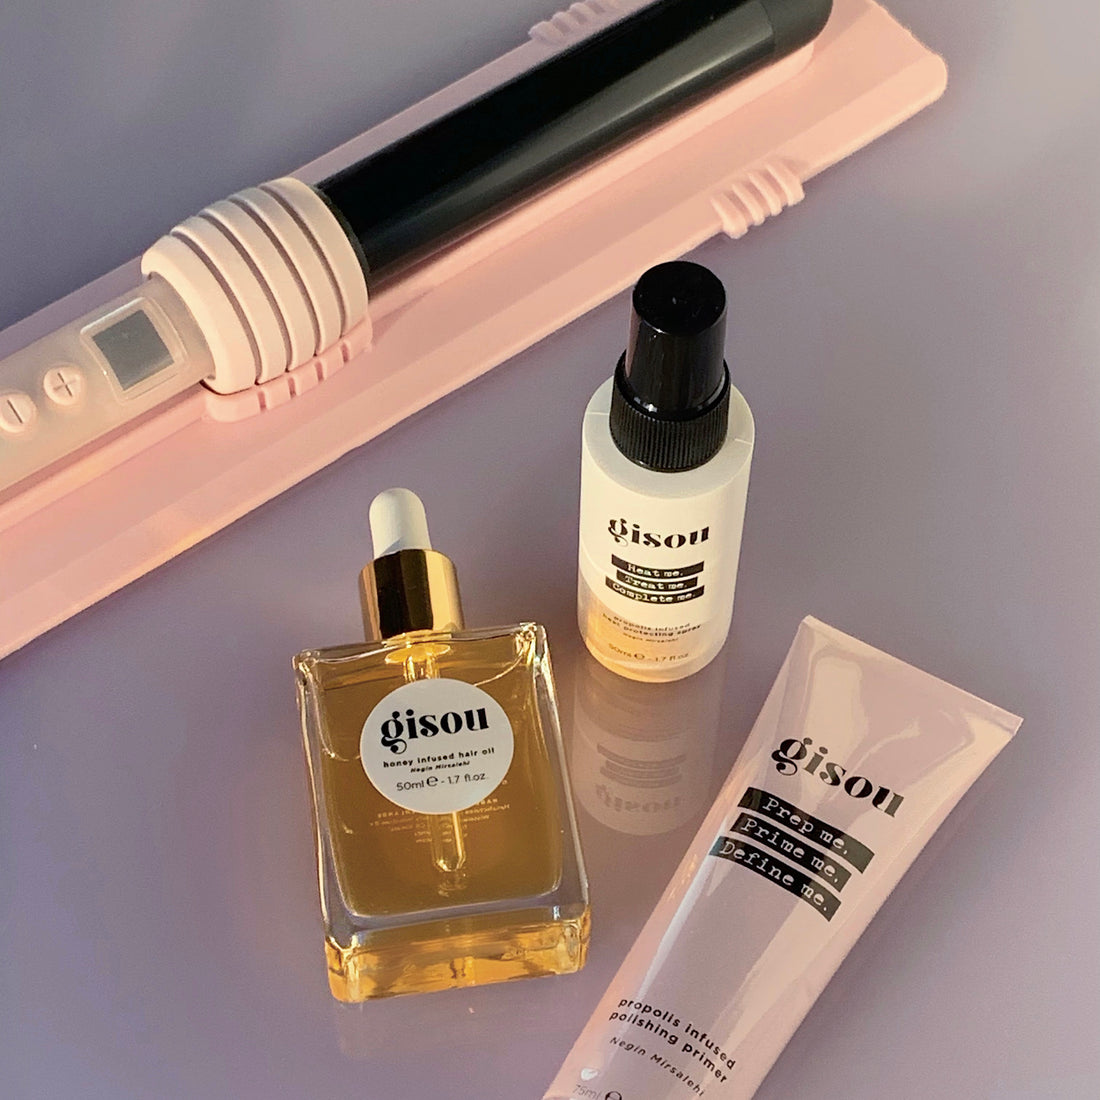
Let us introduce the first step in your curling routine, our beautiful Gisou Curling Tool, the perfect curl companion.
The Gisou Curling Tool features a nostalgic, 90s, honey dripper-inspired custom design, with a 1-inch ceramic barrel and 10 temperature settings. The wide range of temperature settings allows you to find the perfect heat for your hair type (we will get into this more later), and the 1-inch barrel is extremely versatile.
It is the perfect curling wand to create anything from tight curls to loose beachy waves. The ceramic barrel also ensures even heat distribution and helps to control frizz.

2. When and how to curl your hair?
We recommend not curling your hair right after washing it. Freshly washed hair is very soft and clean and will lose definition fast. Try to wait until 2 or 3 days after washing, as curls tend to hold better in dirtier hair. This is because the natural oils from your scalp give the hair more texture and natural hold so there’s a better chance the curls will last longer.
If you’re worried about your hair looking oily, apply a small amount of dry shampoo at the roots, to help absorb any extra oil. If this really isn’t your thing, you can also skip conditioner during your washing routine and then curl after washing, as this will prevent your hair from being too soft to hold your curls. If you do curl after your washing routine, make sure your hair is totally dry before curling - damp hair will frizz and your curls will drop!
3. Choose the right temperature setting for your hair type
Right, it’s day 2, you have your curling tool ready, and now you have to choose a temperature setting. For finer hair types start out using the tool at lower temperatures - around 160 to 180 degrees. This also goes for colour-treated or highlighted hair to help prevent fading and damage.
For thick to coarse hair, you can go from 180 to 230 degrees. Keep in mind that if your curling tool is too hot, this can actually have the opposite effect and cause your style to drop - opt for the lowest possible setting for your hair type to prevent damage and lack of hold.
4. Section your hair and decide on the curling angle
If you’d like to create a tight curl, point the top of your Curling Tool down, if you’d like more loose, beachy waves, keep the curling tool horizontal. To make your curls last longer, divide your hair into three sections and curl smaller pieces of hair. This will give you a tighter curl and better hold.
If you’re interested in how Gisou founder Negin Mirsalehi gets her signature bouncy curls, you can watch her tutorial below:
5. The key to lasting curls: Prep, Prime and Protect
Preparing your hair for the perfect curls will set you up for success. Start out by applying a pea-sized amount of our Propolis Infused Polishing Primer to the lengths of your hair (you can opt for a little more if your hair is on the longer side). Our best-selling Polishing Primer:
- Ensures an optimal workable hold
- Enhances texture
- Creates volume
- Will extend the life of your curls
- Prevents and diminishes frizz
- Reduces drying time
- Tames flyaways
As much as we all love having beautifully styled hair, damaged hair is another story. To prevent damage, follow up with our Propolis Infused Heat Protection Spray. This product protects the hair from heat up to 230ᵒC/446ᵒF (and as an added bonus it contains a UV filter to prevent sun damage!).
Spray the product evenly from an arm's length distance, and brush it through. Heat protecting spray should always be the last product you use before applying heat, as the curler will burn the product and not your hair!
6. Cool your curls
Once you have created an individual curl using the Curling Tool, hold the curl in your hand and allow it to cool. You can also clip it up or use a velcro roller to hold it in place whilst you do the rest of your hair. This will help the curl to set, making them last longer.

7. Aftercare
After allowing your curls to cool, you can let them down and gently run your fingers through them or use a wide-tooth comb if you are going for a beachy wave look. Brushing them with a normal brush will pull them out. Whilst they may be tighter than you want at the start we would recommend leaving them this way, as they will gradually drop over time.
As a final step for everlasting curls, apply a couple of sprays of our Propolis Infused Texturising Wave Spray. This will give your curls extra hold and texture. A texturizing spray is a lighter version of hairspray, which will keep your curls in place without weighing them down.
Simply spray the Propolis Infused Texturising Wave Spray from an arm’s length distance onto your curls, and scrunch the product in to activate your curls and create texture. This will create a more beachy, textured look with plenty of hold!
Wrapping up
And there you have it, bouncy curls that will survive all throughout the day and night! If you really want to go all out, invest in a silk or satin pillowcase to protect your hair and hold your curls until the next day.
By Mana, Gisou Beauty Advisor